Are you looking to add some rustic charm and functionality to your barn with some stylish lighting? Installing barn lighting may seem like a daunting task, but with the right tools, materials, and knowledge, you can easily tackle this DIY project yourself. In this ultimate guide, we’ll walk you through the steps to successfully install barn lighting on your own. Let’s get started!
Planning Your Lighting Layout
Before you begin the installation process, it’s essential to plan out your lighting layout. Think about the areas in your barn where you need the most light, such as the aisleways, stalls, and entryways. Consider the overall design aesthetic you want to achieve and how the lighting will contribute to that.
To make it easier, create a simple sketch of your barn layout and mark where you want to place the lighting fixtures. This will give you a clear visual representation of how the lighting will be distributed throughout the space.
Lighting Placement Tips
When planning the placement of your barn lighting, keep these tips in mind:
- Install overhead lighting in areas where you need general illumination.
- Place wall sconces near doorways and stalls for targeted lighting.
- Consider using task lighting for specific areas like grooming stations or work areas.
By strategically placing your lighting fixtures, you can ensure that your barn is well-lit and functional for both humans and animals.
Choosing the Right Lighting Fixtures
Selecting the right lighting fixtures for your barn is crucial to achieving the desired aesthetic and functionality. There are various styles and types of barn lighting available, so consider the following factors when making your decision:
Style
Choose a style of lighting that complements the overall design of your barn. Whether you prefer a more traditional farmhouse look or a modern industrial vibe, there are plenty of options to suit your taste.
Functionality
Consider the purpose of the lighting fixture and how it will be used in your barn. For example, if you need bright task lighting for a specific area, opt for fixtures with adjustable heads or higher wattage.
Durability
Since barns can be dusty and prone to moisture, choose lighting fixtures that are durable and weather-resistant. Look for fixtures made of materials like galvanized steel or aluminum that can withstand the elements.
By taking these factors into account, you can ensure that the lighting fixtures you choose are both practical and stylish for your barn space.

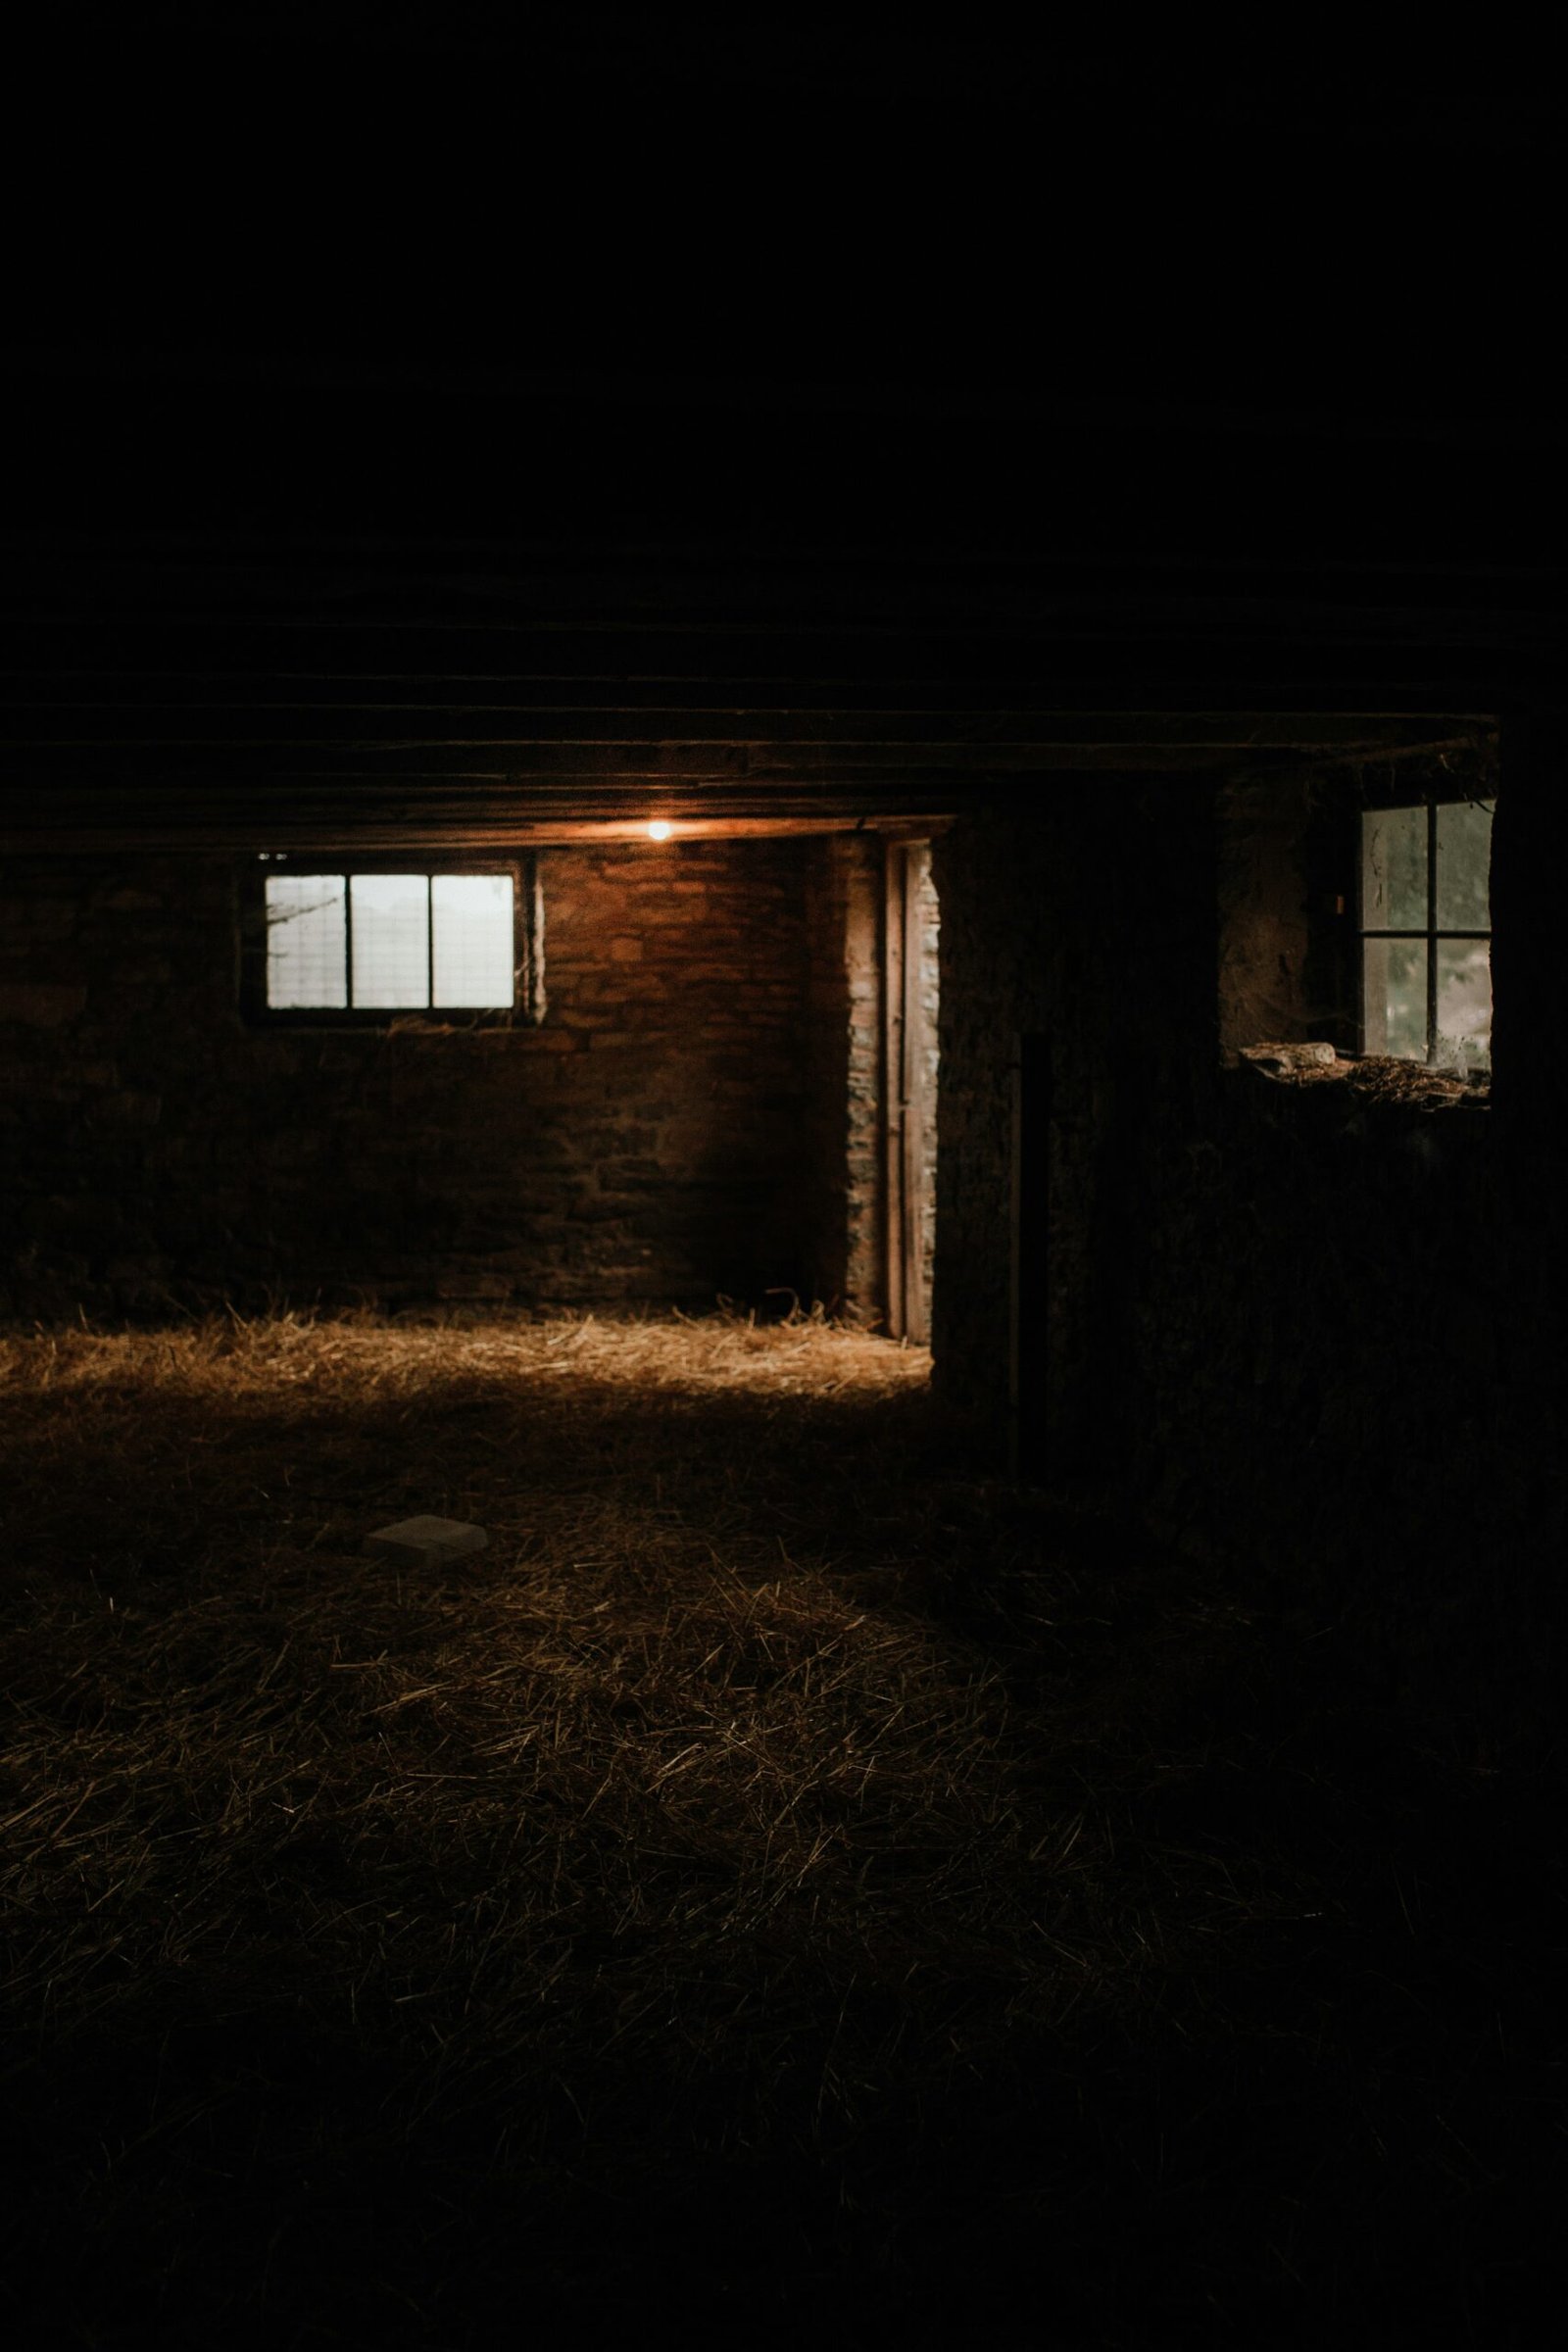
This image is property of images.pexels.com.
Gathering the Necessary Tools and Materials
Before you start the installation process, gather all the tools and materials you’ll need to complete the project. Here is a list of common items you’ll need for installing barn lighting:
| Tools | Materials |
|---|---|
| Drill | Lighting Fixtures |
| Screwdriver | Mounting Hardware |
| Pliers | Wire Nuts |
| Wire Stripper | Electrical Tape |
| Ladder | Outdoor Extension Cord |
| Voltage Tester | Waterproof Silicone Sealant |
Make sure you have all these tools and materials on hand before you begin, so you can work efficiently and effectively during the installation process.
Safety Precautions
Don’t forget to prioritize safety during the installation process. Use a ladder or scaffolding that is sturdy and stable, and wear appropriate safety gear such as gloves and safety glasses. If you’re unsure about any electrical work, consult a professional to avoid accidents.
Installing Barn Lighting
Now that you’ve planned your lighting layout, chosen your fixtures, and gathered your tools and materials, it’s time to start the installation process. Follow these step-by-step instructions to successfully install barn lighting:
Step 1: Turn off Power
Before you begin any work, turn off the power to the area where you’ll be installing the lighting. This prevents the risk of electrical shock and keeps you safe during the installation process.
Step 2: Install Mounting Hardware
Start by installing the mounting hardware for your lighting fixture. Use a drill to attach the mounting bracket to the ceiling or wall, following the manufacturer’s instructions. Ensure that the hardware is securely in place before proceeding.
Step 3: Connect the Wiring
Next, connect the wiring of your lighting fixture to the existing electrical wiring in your barn. Use wire nuts to secure the connections and electrical tape to insulate them. If you’re unsure about the wiring process, consult a professional electrician for guidance.
Step 4: Attach the Fixture
Once the wiring is connected, attach the lighting fixture to the mounting hardware using the provided screws or bolts. Make sure the fixture is securely fastened and level before tightening the hardware.
Step 5: Test the Lighting
After installing the fixture, turn the power back on and test the lighting to ensure it’s working correctly. Make any necessary adjustments to the placement or wiring before securing the fixture in its final position.
Step 6: Seal and Secure
Once you’re satisfied with the lighting installation, use waterproof silicone sealant to seal any gaps or openings around the fixture. This helps protect the wiring and fixture from moisture and dust, ensuring they remain in good condition.
By following these steps carefully and methodically, you can successfully install barn lighting in your space and enjoy the benefits of a well-lit and inviting barn.

This image is property of images.pexels.com.
Maintenance Tips for Barn Lighting
To keep your barn lighting fixtures in optimal condition, it’s essential to perform regular maintenance tasks. Here are some tips to help you maintain your barn lighting:
Clean Regularly
Dust and debris can accumulate on lighting fixtures over time, affecting their performance and appearance. Clean your fixtures regularly with a soft cloth or duster to remove any buildup and maintain their brightness.
Check for Damage
Inspect your lighting fixtures periodically for any signs of damage or wear. Look for loose connections, cracked lenses, or dimming lights, and address these issues promptly to prevent further damage.
Replace Bulbs
If you notice that the bulbs in your lighting fixtures are dim or flickering, replace them with new ones to restore the brightness. Be sure to use the correct wattage and bulb type recommended by the manufacturer.
Inspect Wiring
Check the wiring of your lighting fixtures for any signs of fraying, exposed wires, or damage. If you notice any issues, turn off the power and replace the wiring or contact a professional electrician for assistance.
By incorporating these maintenance tips into your routine, you can prolong the lifespan of your barn lighting fixtures and ensure they continue to illuminate your space effectively.
Conclusion
Installing barn lighting can enhance the functionality and aesthetics of your barn space, creating a welcoming and well-lit environment for both humans and animals. By following this ultimate DIY guide, you can confidently tackle the installation process and enjoy the benefits of stylish and functional lighting in your barn. Remember to plan your lighting layout carefully, choose the right fixtures, and prioritize safety throughout the installation process. With the right tools, materials, and knowledge, you can successfully install barn lighting and transform your space into a cozy and well-lit retreat. Happy DIY-ing!


