How to Install Barn Lighting: A Step-by-Step Tutorial
If you’re looking to add some ambiance and functionality to your barn, installing proper lighting is a great place to start. In this tutorial, we will walk you through the process of installing barn lighting in a simple and easy-to-follow manner.

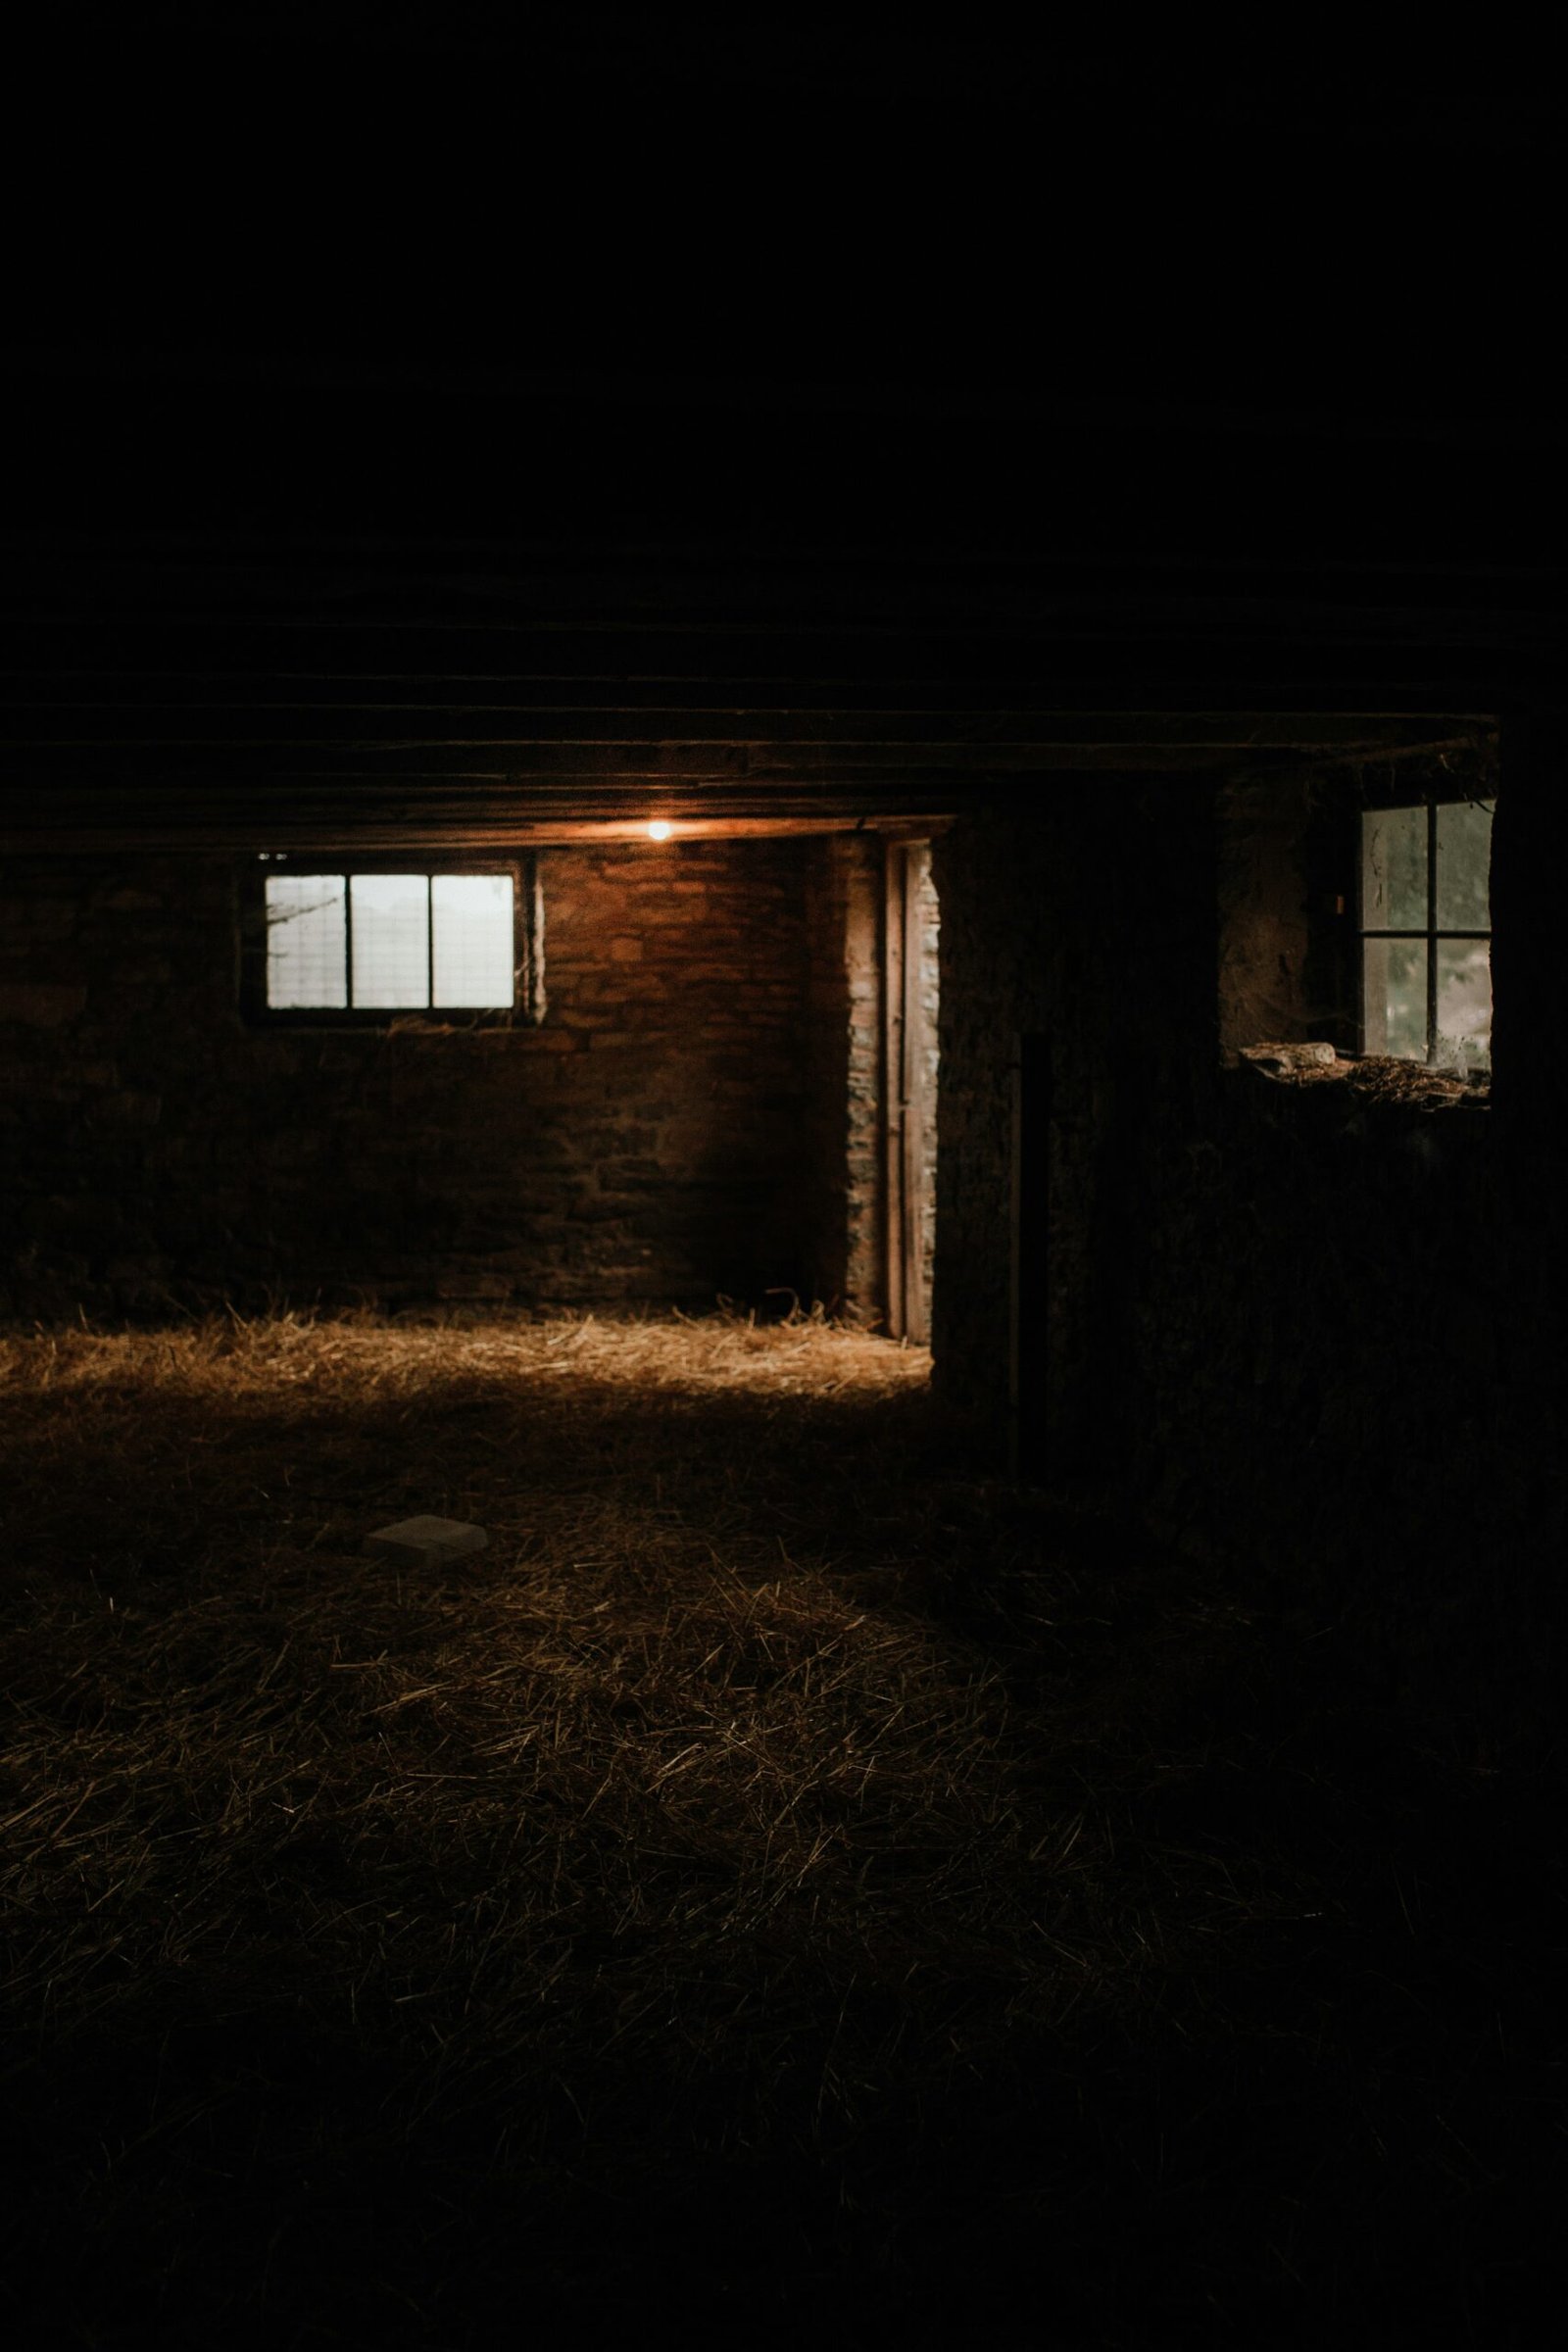
This image is property of images.unsplash.com.
Tools and Materials Needed
Before you begin the installation process, make sure you have all the necessary tools and materials to complete the project. Here’s a list of what you will need:
- Barn light fixture
- Ladder
- Drill
- Screwdriver
- Wire strippers
- Wire nuts
- Electrical tape
- Safety glasses
- Gloves
Having all the right tools and materials on hand will help ensure a smooth and successful installation.
Choosing the Right Location for Your Barn Lighting
The first step in installing barn lighting is to determine the best location for your fixtures. Consider the layout of your barn and where you need the most illumination. You may want to install lights near doorways, walkways, or work areas for optimal visibility.
Proper placement of barn lighting will not only enhance the functionality of your space but also add to its overall aesthetic appeal.
Turning Off the Power
Before you begin any electrical work, it’s crucial to turn off the power to the area where you will be working. Locate the circuit breaker that controls the electricity to your barn lighting and switch it off to prevent any accidents or injuries.
Always prioritize safety when working with electrical components to avoid any potential hazards.
Installing the Mounting Bracket
The next step is to install the mounting bracket for your barn light fixture. Use a ladder to reach the desired location and hold the bracket in place. Use a drill to screw the bracket securely into the wall or ceiling.
Installing the mounting bracket properly will ensure that your barn lighting fixture is securely in place and won’t come loose over time.

This image is property of images.unsplash.com.
Wiring the Barn Light Fixture
After the mounting bracket is securely in place, it’s time to wire your barn light fixture. Start by connecting the wires from the fixture to the corresponding wires in your barn’s electrical system. Use wire strippers to strip the ends of the wires, twist them together, and secure them with wire nuts.
Be sure to wrap the connections with electrical tape to prevent any exposed wires or loose connections that could pose a safety risk.
Attaching the Barn Light Fixture
Once the wiring is complete, it’s time to attach the barn light fixture to the mounting bracket. Line up the screw holes on the fixture with the holes on the bracket and use a screwdriver to secure the fixture in place.
Make sure the fixture is level and securely attached to the mounting bracket to ensure proper functionality and longevity.
This image is property of images.unsplash.com.
Testing Your Barn Lighting
Before wrapping up the installation process, it’s essential to test your barn lighting to ensure everything is working correctly. Turn the power back on and switch on the light fixture to see if it illuminates as expected.
If the light doesn’t turn on, double-check your wiring connections and make any necessary adjustments before proceeding.
Additional Tips for Barn Lighting Installation
- Make sure to choose weather-resistant barn light fixtures suitable for outdoor use.
- Consider installing motion sensor lights for added security and convenience.
- When in doubt, consult a professional electrician for assistance with your barn lighting installation.
By following these step-by-step instructions and tips, you can successfully install barn lighting in your space and enjoy the benefits of improved visibility and functionality. Happy lighting!
